With technology developing continuously at a high speed, manufacturers of electronics, pharma, medical device manufacturing, and similar industries are facing the same challenges: components such as circuit boards, chips and other parts are getting smaller…while the tracking and identification of these are becoming ever more important.
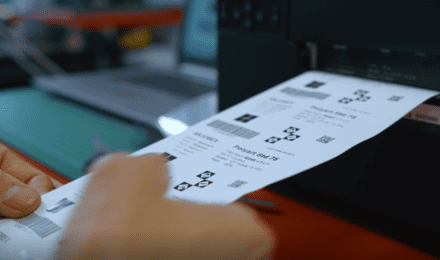
Let’s take a look at how you can effectively deliver high-quality prints such as small data matrixes and small texts and symbols to identify all those miniaturized components throughout the supply chain.
Here are 4 easy steps to get you started.
Step #1: Choose a printer that accommodates high resolutions
When it comes to thermal transfer printers, generally speaking, the higher the resolution on a printer, the sharper your image becomes.
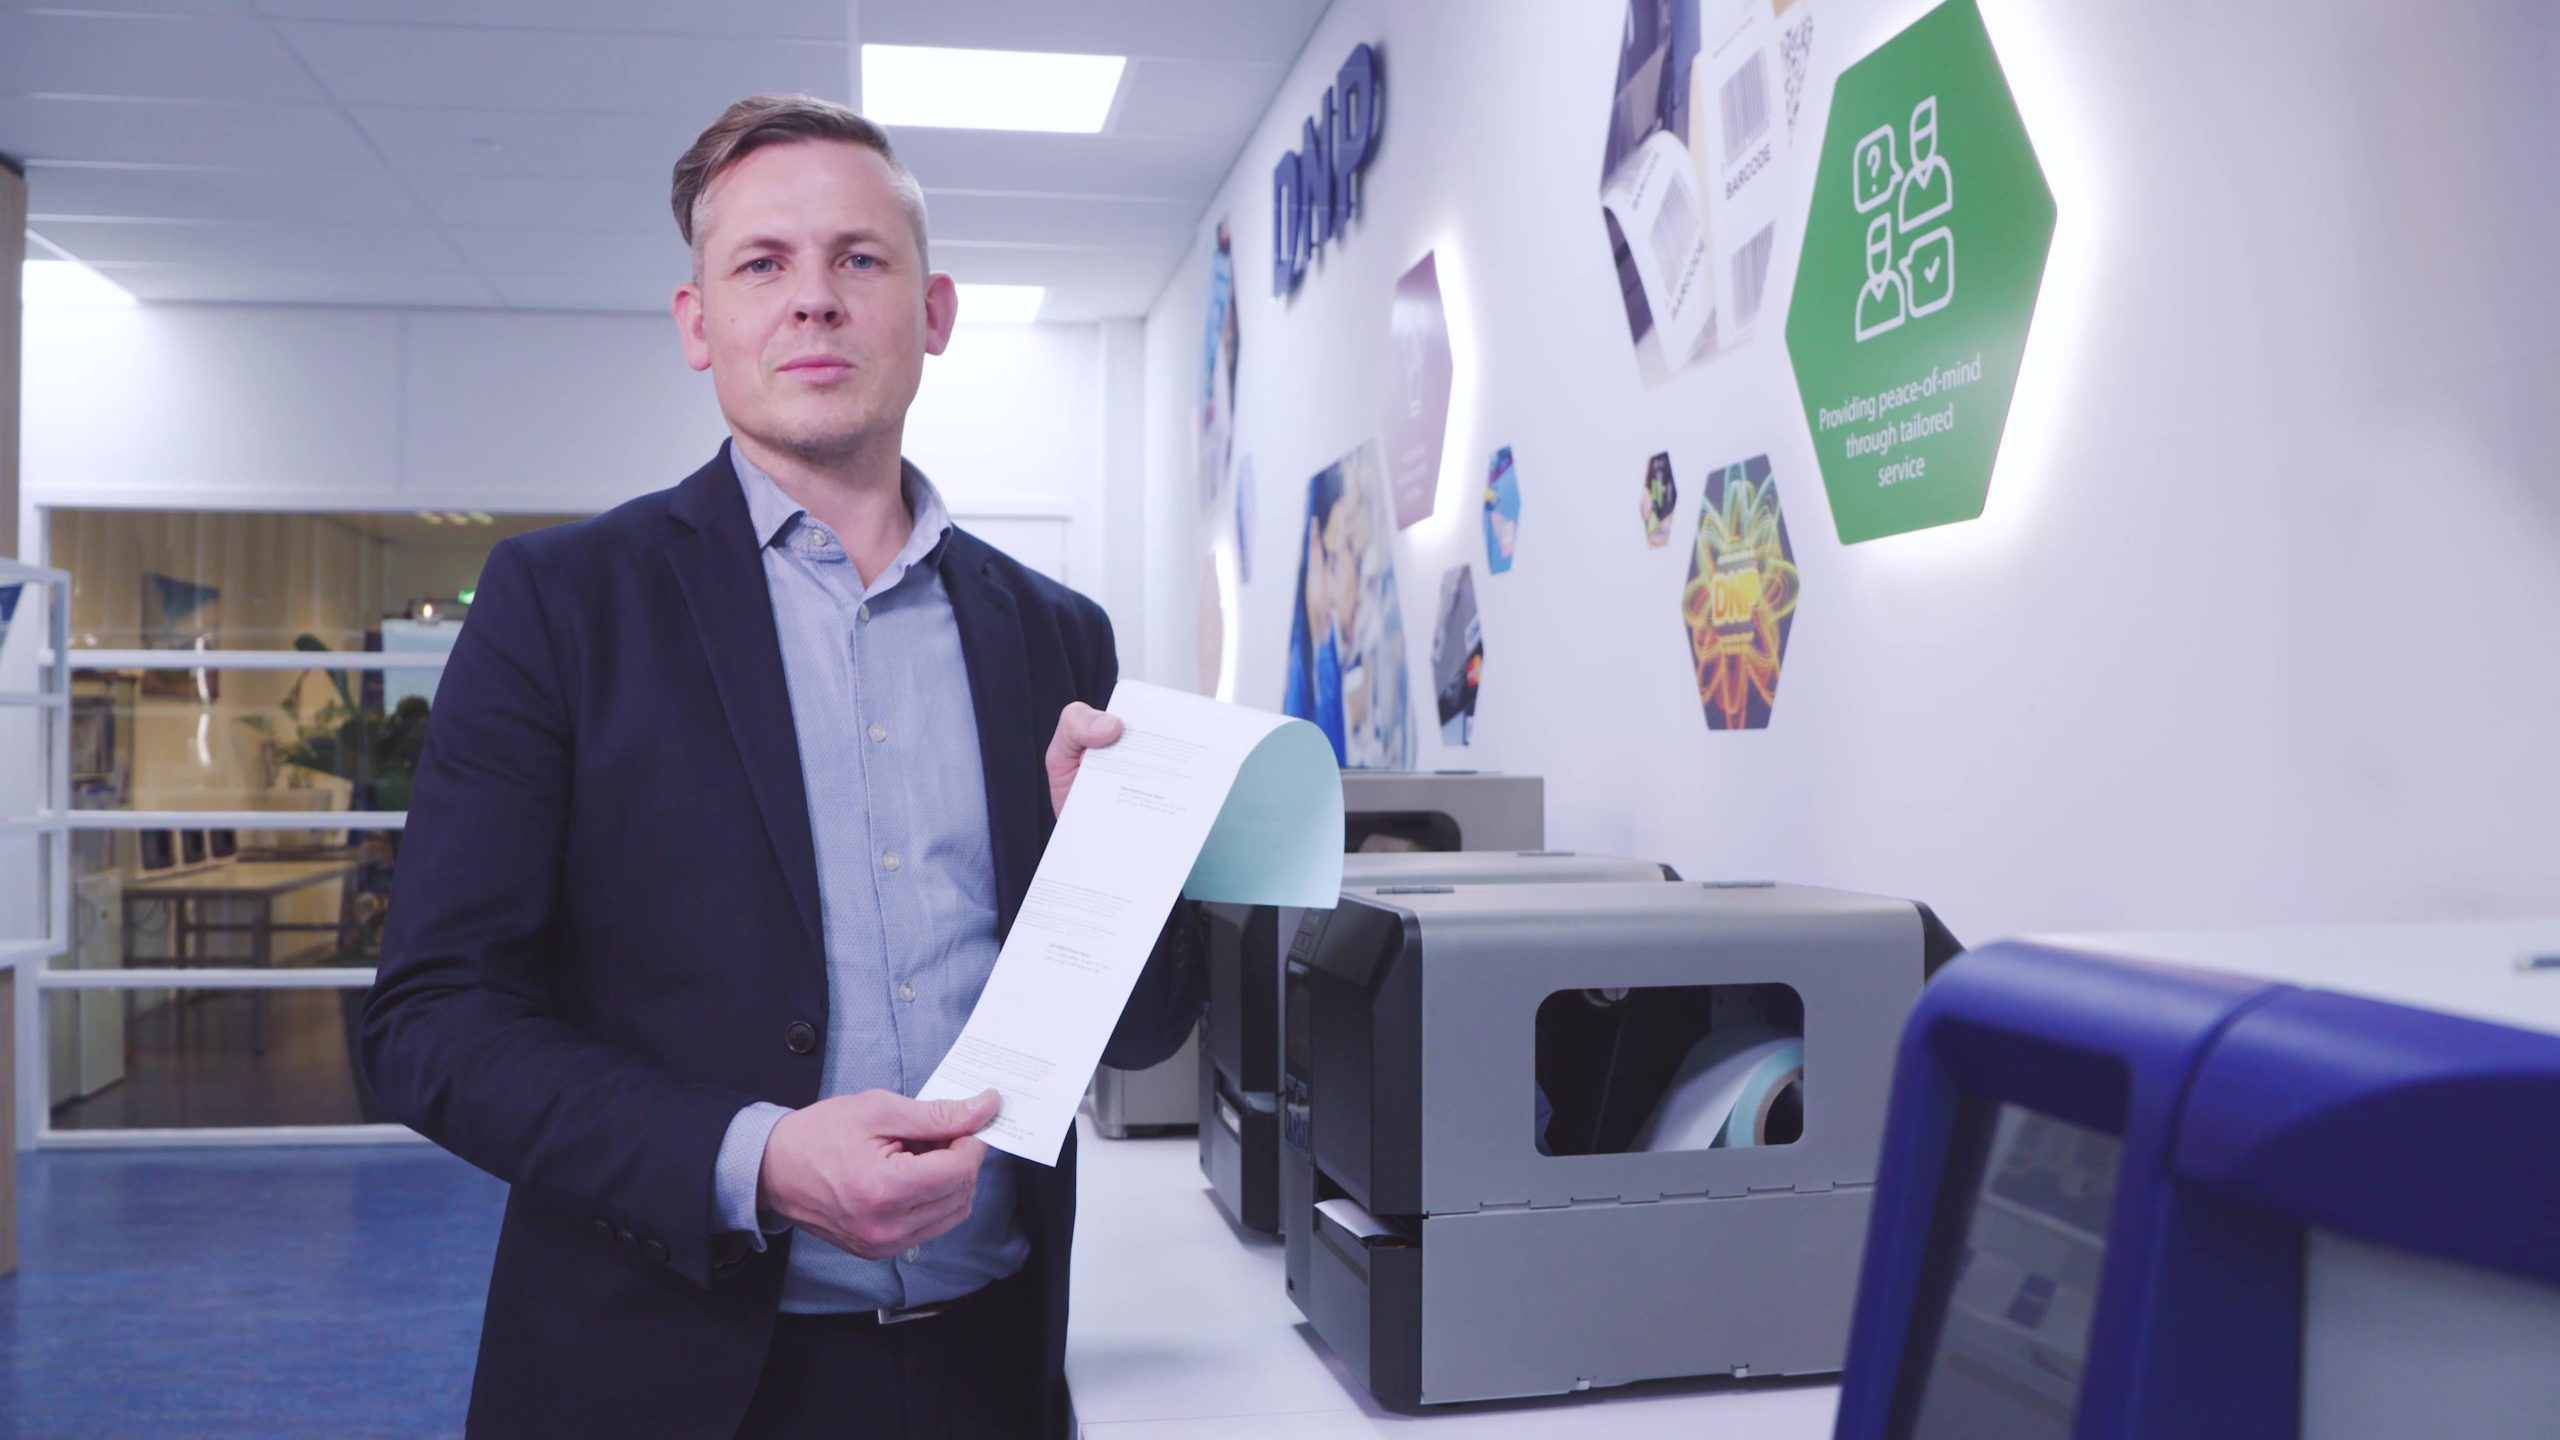
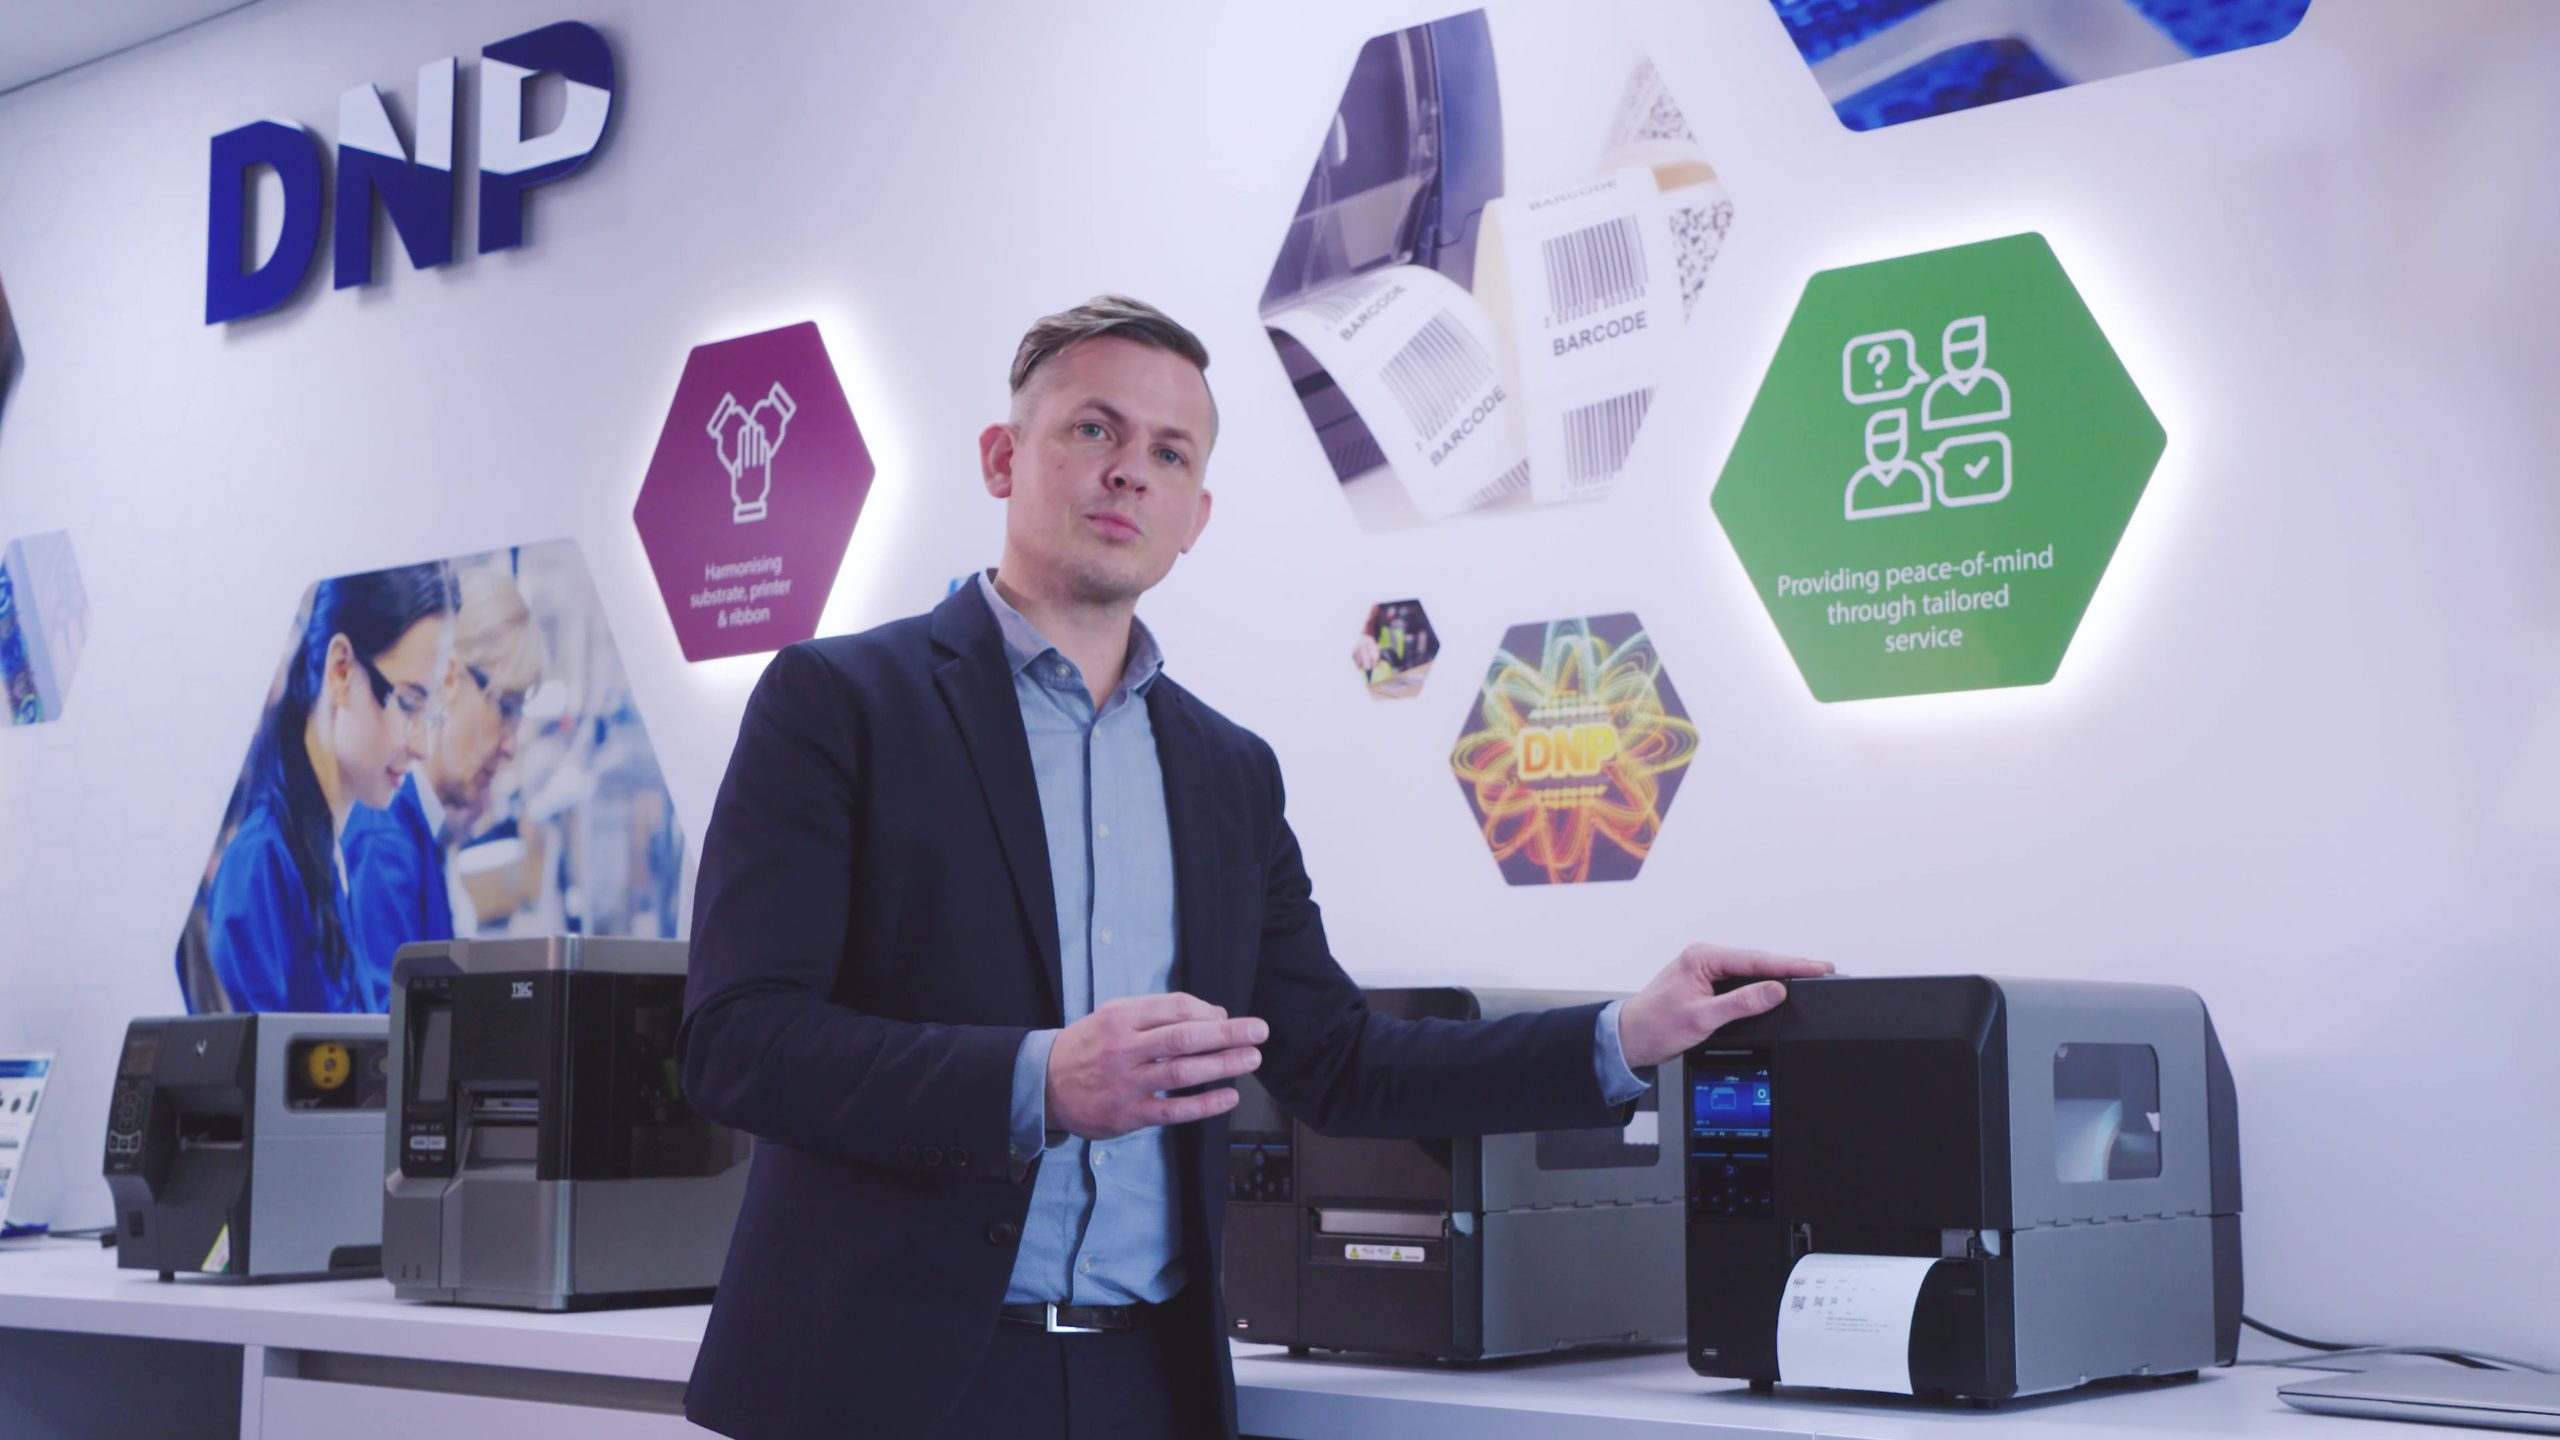
At DNP, we are often testing different printer brands and models to make sure we can provide you with advice that fits your specific needs.
Recently we have been testing on a brand-new printer from our trusted partners at SATO. This printer, for example, provides a print resolution of up to 609 dpi, meaning that it’s perfect for high-definition printing. It gives us the perfect opportunity to do testing for prints where small characters are used as the ones on micro labels.
When it comes to small, but razor-sharp variable prints, printers are one part of the equation…We shouldn’t forget substrates either.
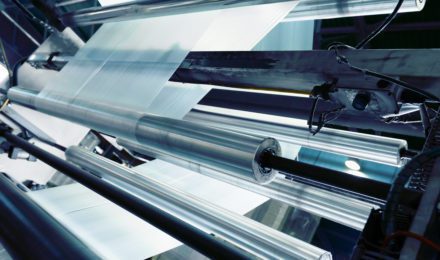
Step #2: Select the most optimal labeling material
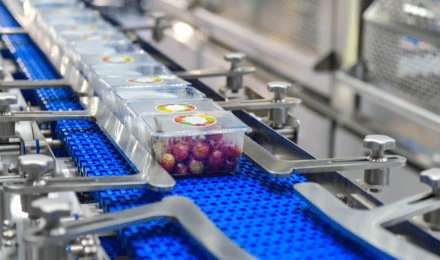
Take, for example, electronics or medical device labeling. Often you’d use a synthetic material to print on, such as PE or PP. These are not only highly durable against high heat or certain chemicals and solvents, but also have a smoother surface that allows for an even surface to print on.
At the end of the day, printer and substrate also decide the type of Thermal Transfer Ribbon you will end up using.
This brings us to step #3.

Step#3: Select the Thermal Transfer Ribbon that best fits your needs.
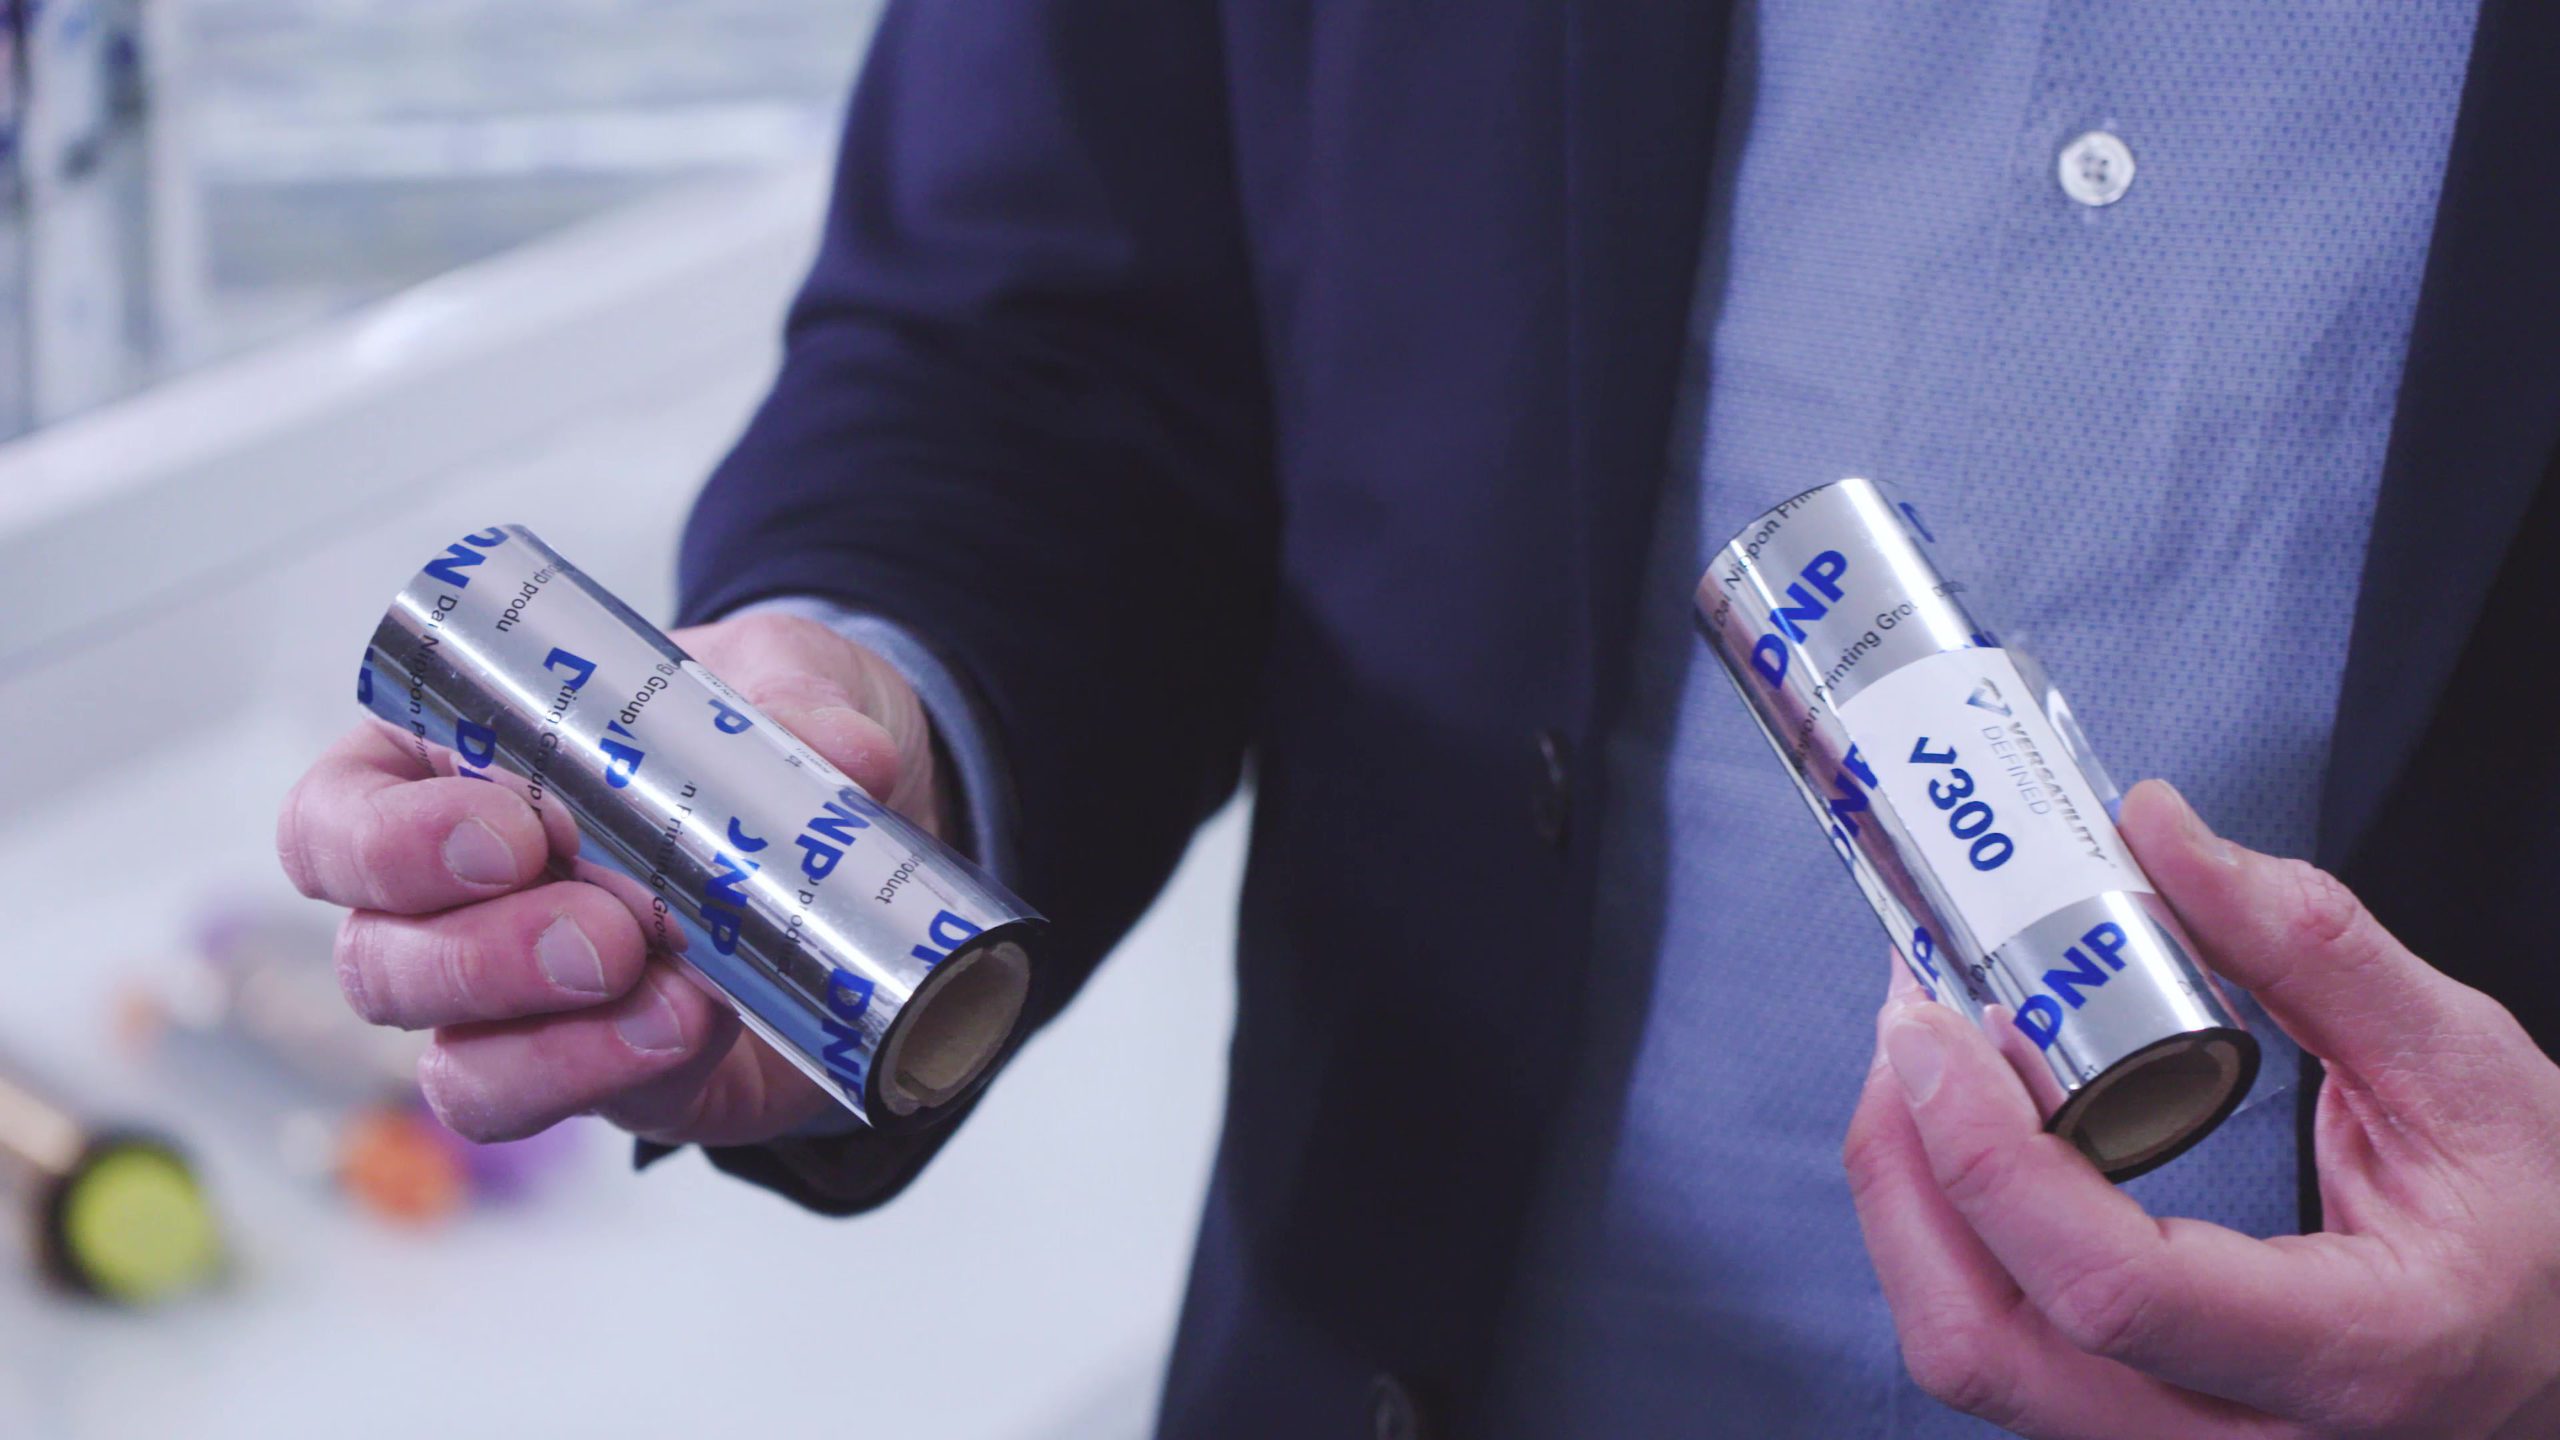
For small data printability combined with long-term durability, such as for electronics labels, we recommend looking at the range of resins.
Generally, the higher the resin content of a ribbon, the easier it is to create a sharper image. This comes, because the resin in the ink doesn’t melt, but only softens on the surface of the substrate.
DNP’s versatile resin, V300, or the well-known R550 formulations are perfect examples of Thermal Transfer Ribbons that provides high edge-definition on small prints combined with durability.
Step #4: Printer settings, font types & styles
Now that you have all the basic materials and equipment. Your final step would be to do some testing to find the most optimal print settings.
While you do that, do not forget to test some different fonts on the way. Different fonts types and styles like italics, bold or regular, can have a huge impact on your end result.
Should you need technical support in testing or need some advice on finding the right combination of printer, substrate, and ribbon?
We are here to help!